

Once in awhile, I get a project that tops all the others, whether because of technical, design challenges, or amazing transformations, or tight schedules for a surprise remodel (yes, we do those too!). This bathroom is one such project.
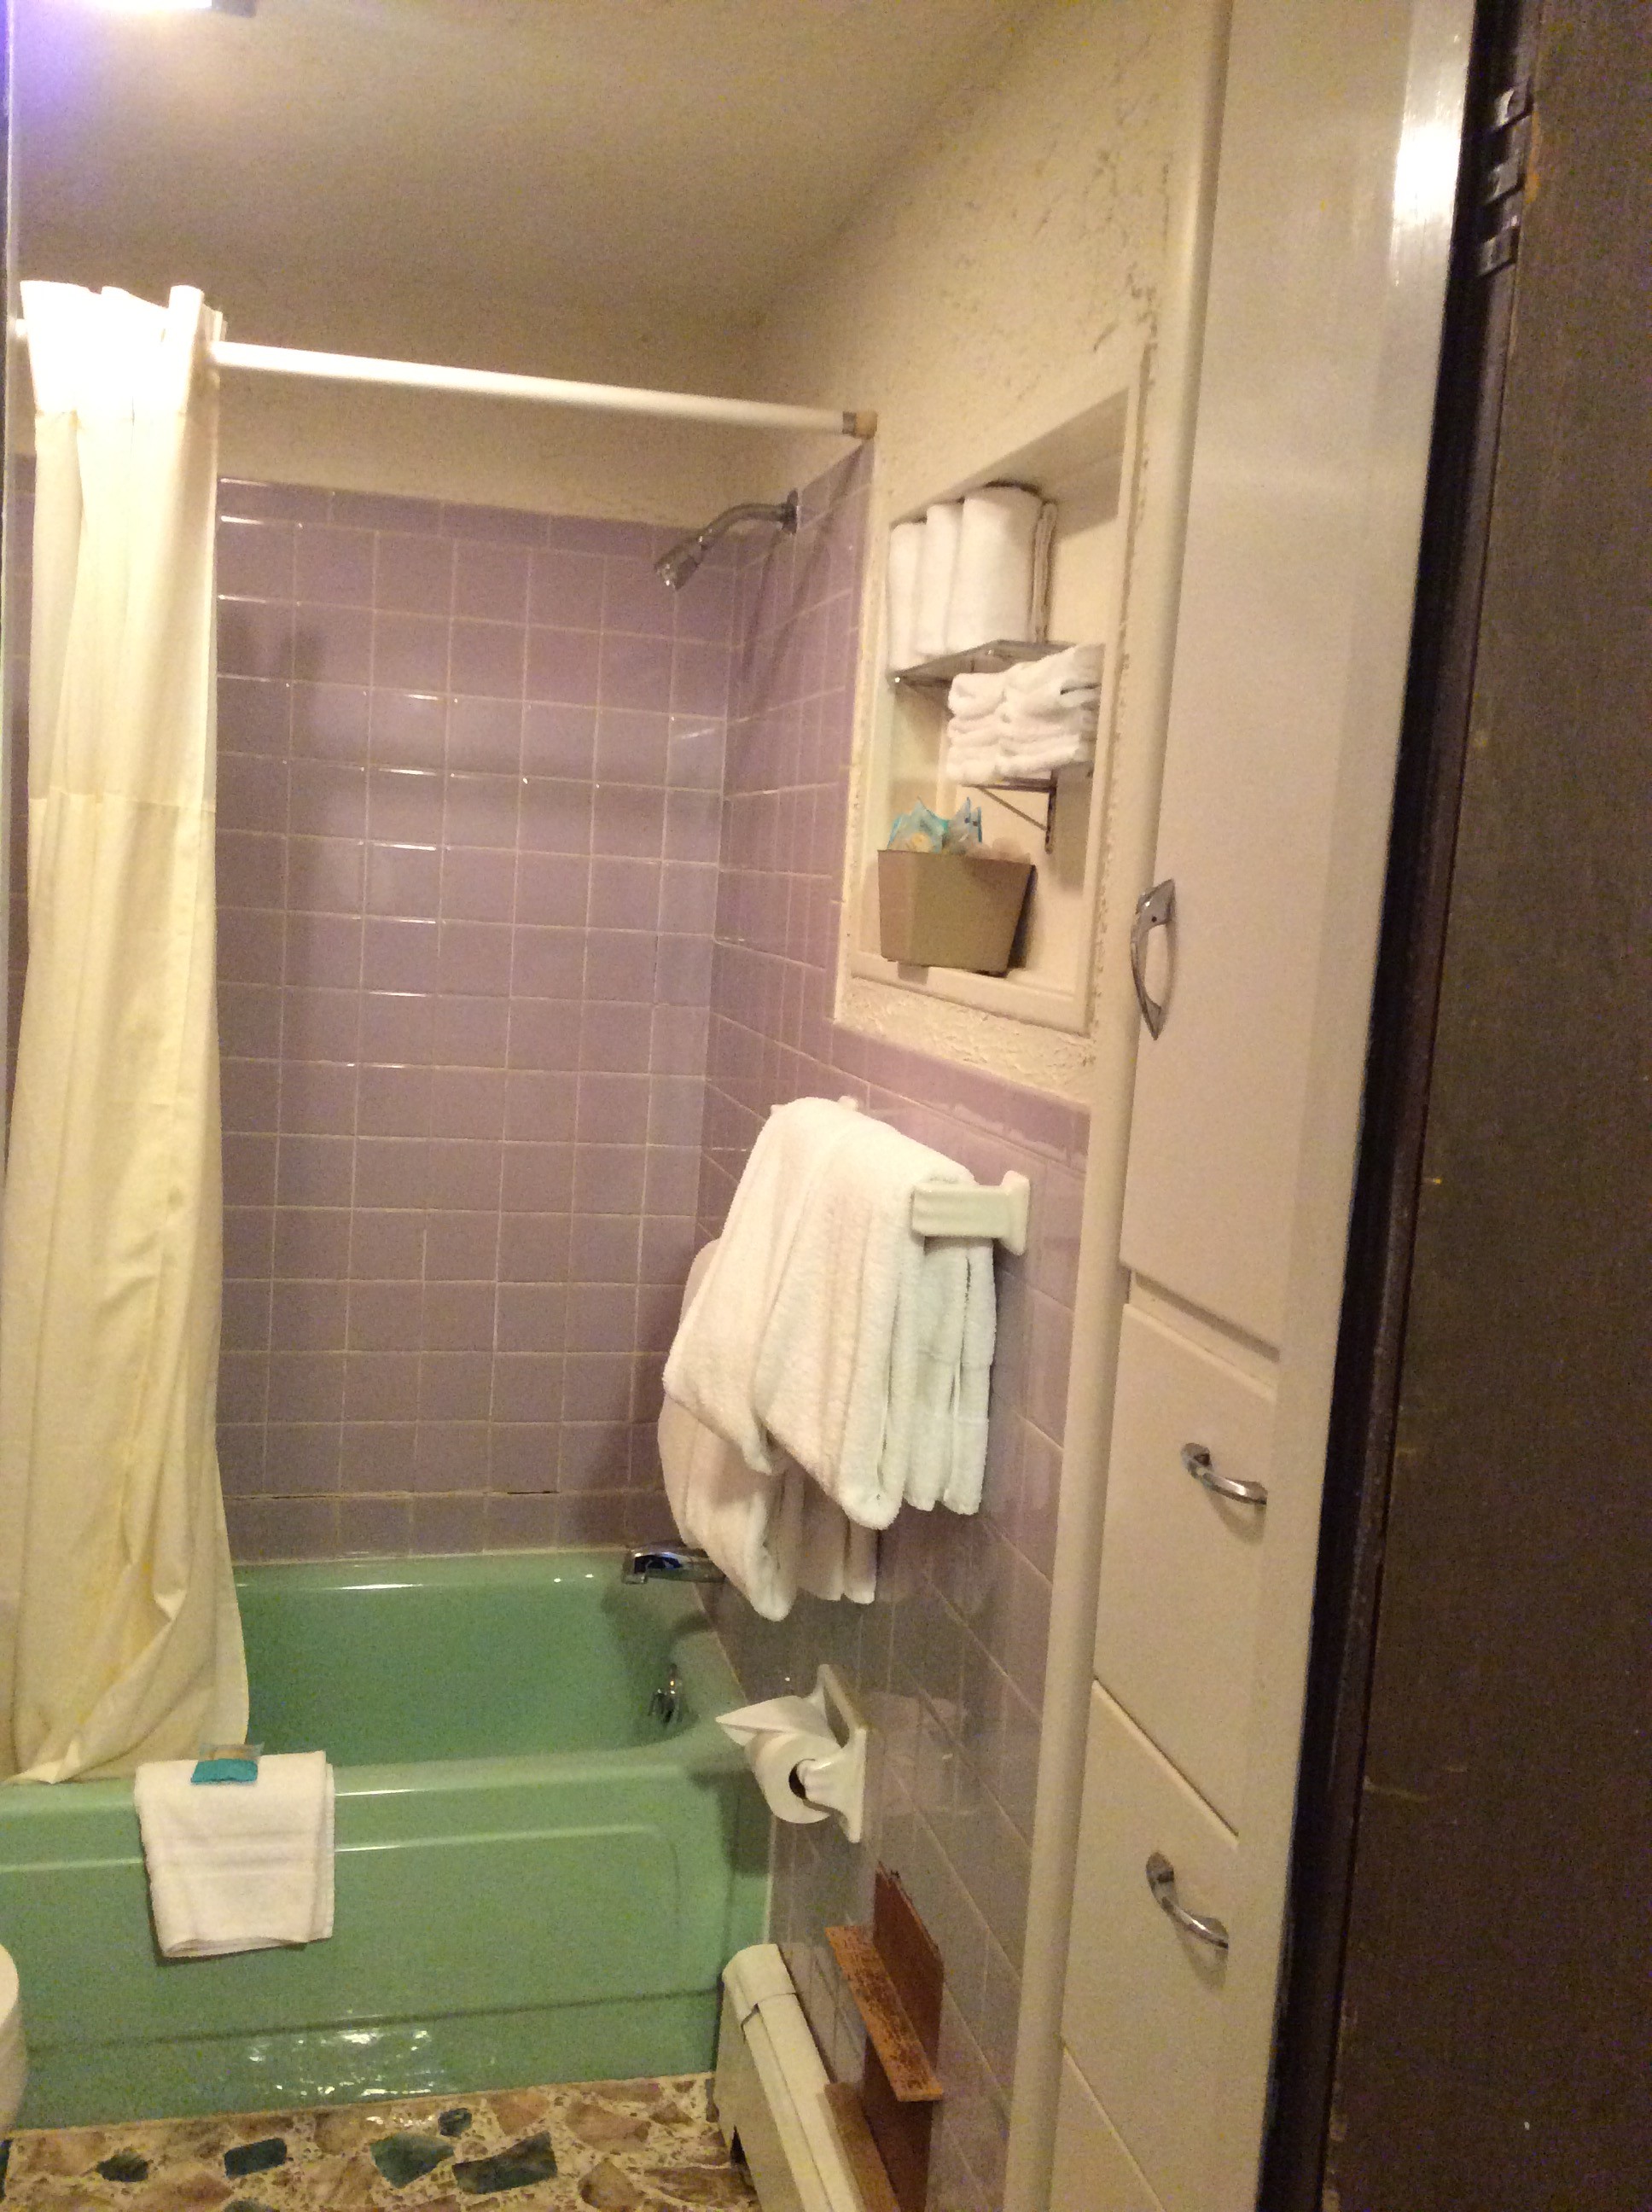
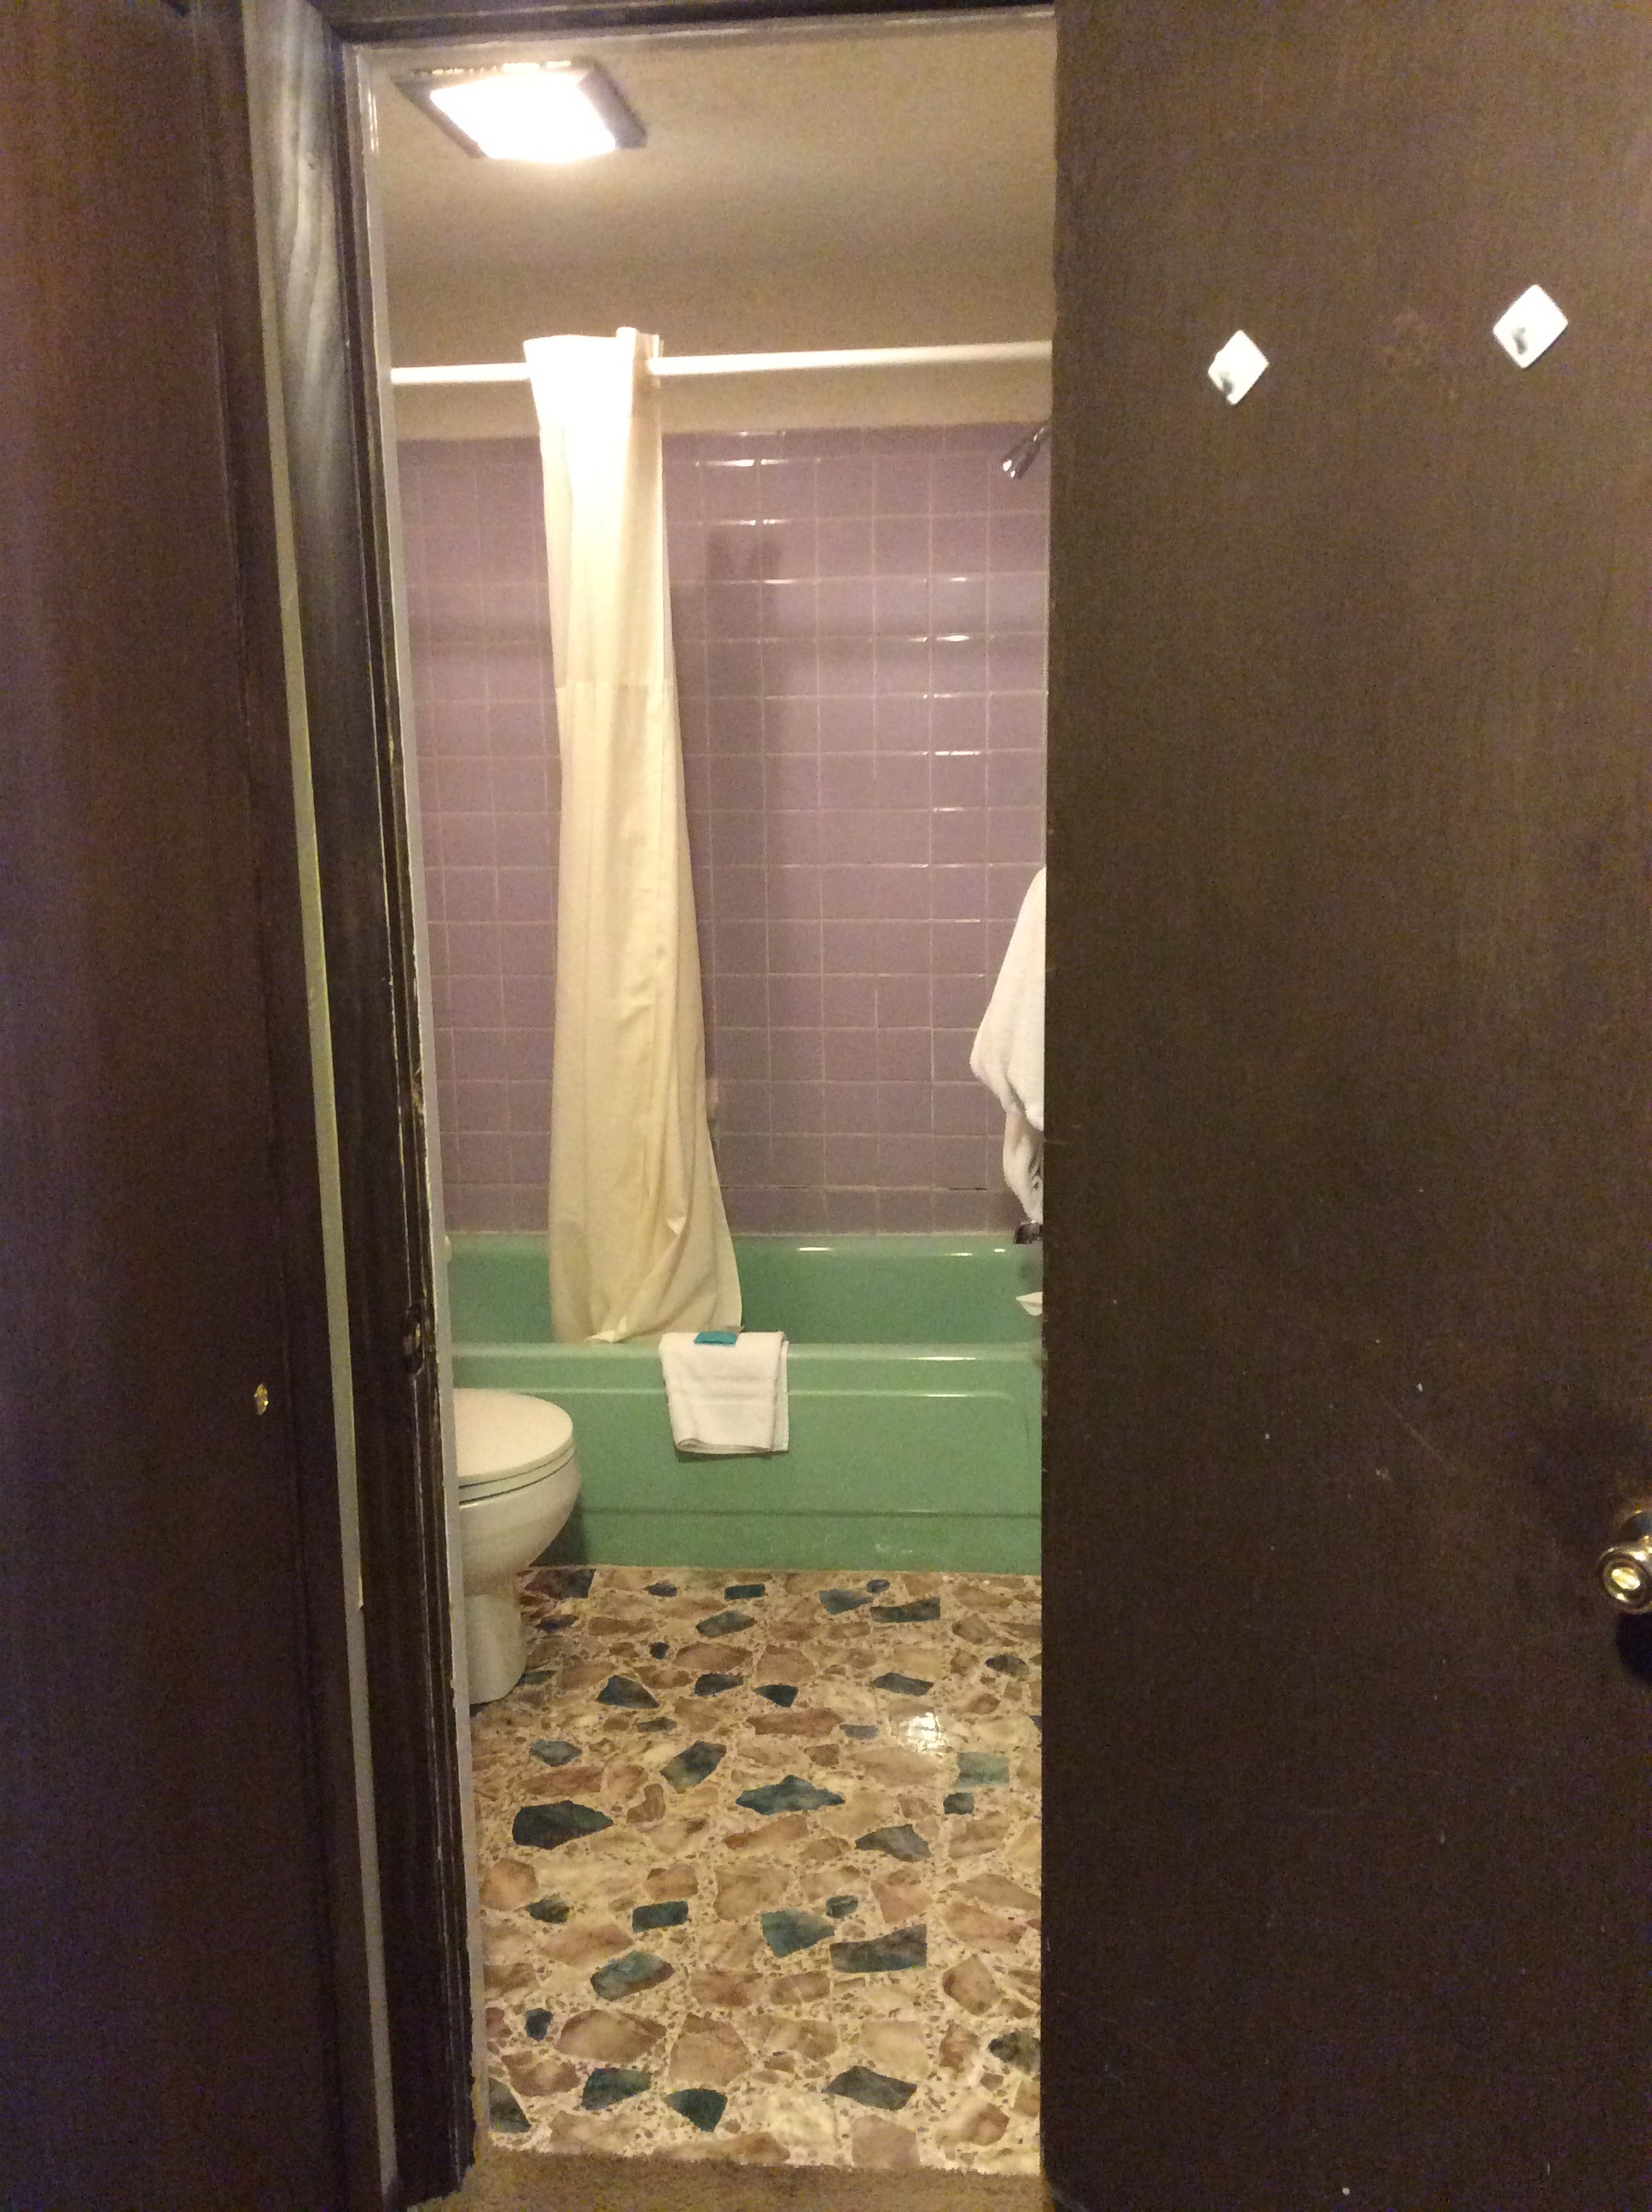
Attraction #1: In the before pictures you will notice there is a mint green tub and lavender tile on the walls. The vinyl floor was either chosen to match the fixtures, or the other way around, but looks kind of far out, if you ask me! The tile was slipping and getting moldy, the tub was chipped, the shower head too low, the floor yucky, and the texture on the very low ceiling odd. The lighting and the ventilation just did not exist, making the room feel very dingy and cramped.
Attraction #2: Because this owner rents out the house, we only had a 2 week schedule to gut, repair, and replace all the fixtures. So, we had to plan carefully and get all the products ordered on-time so that we could work almost around the clock in fixing this bath from odd to soothing. And, we DID get it done on time. A lot of long nights, but we succeeded in the client’s time frame.
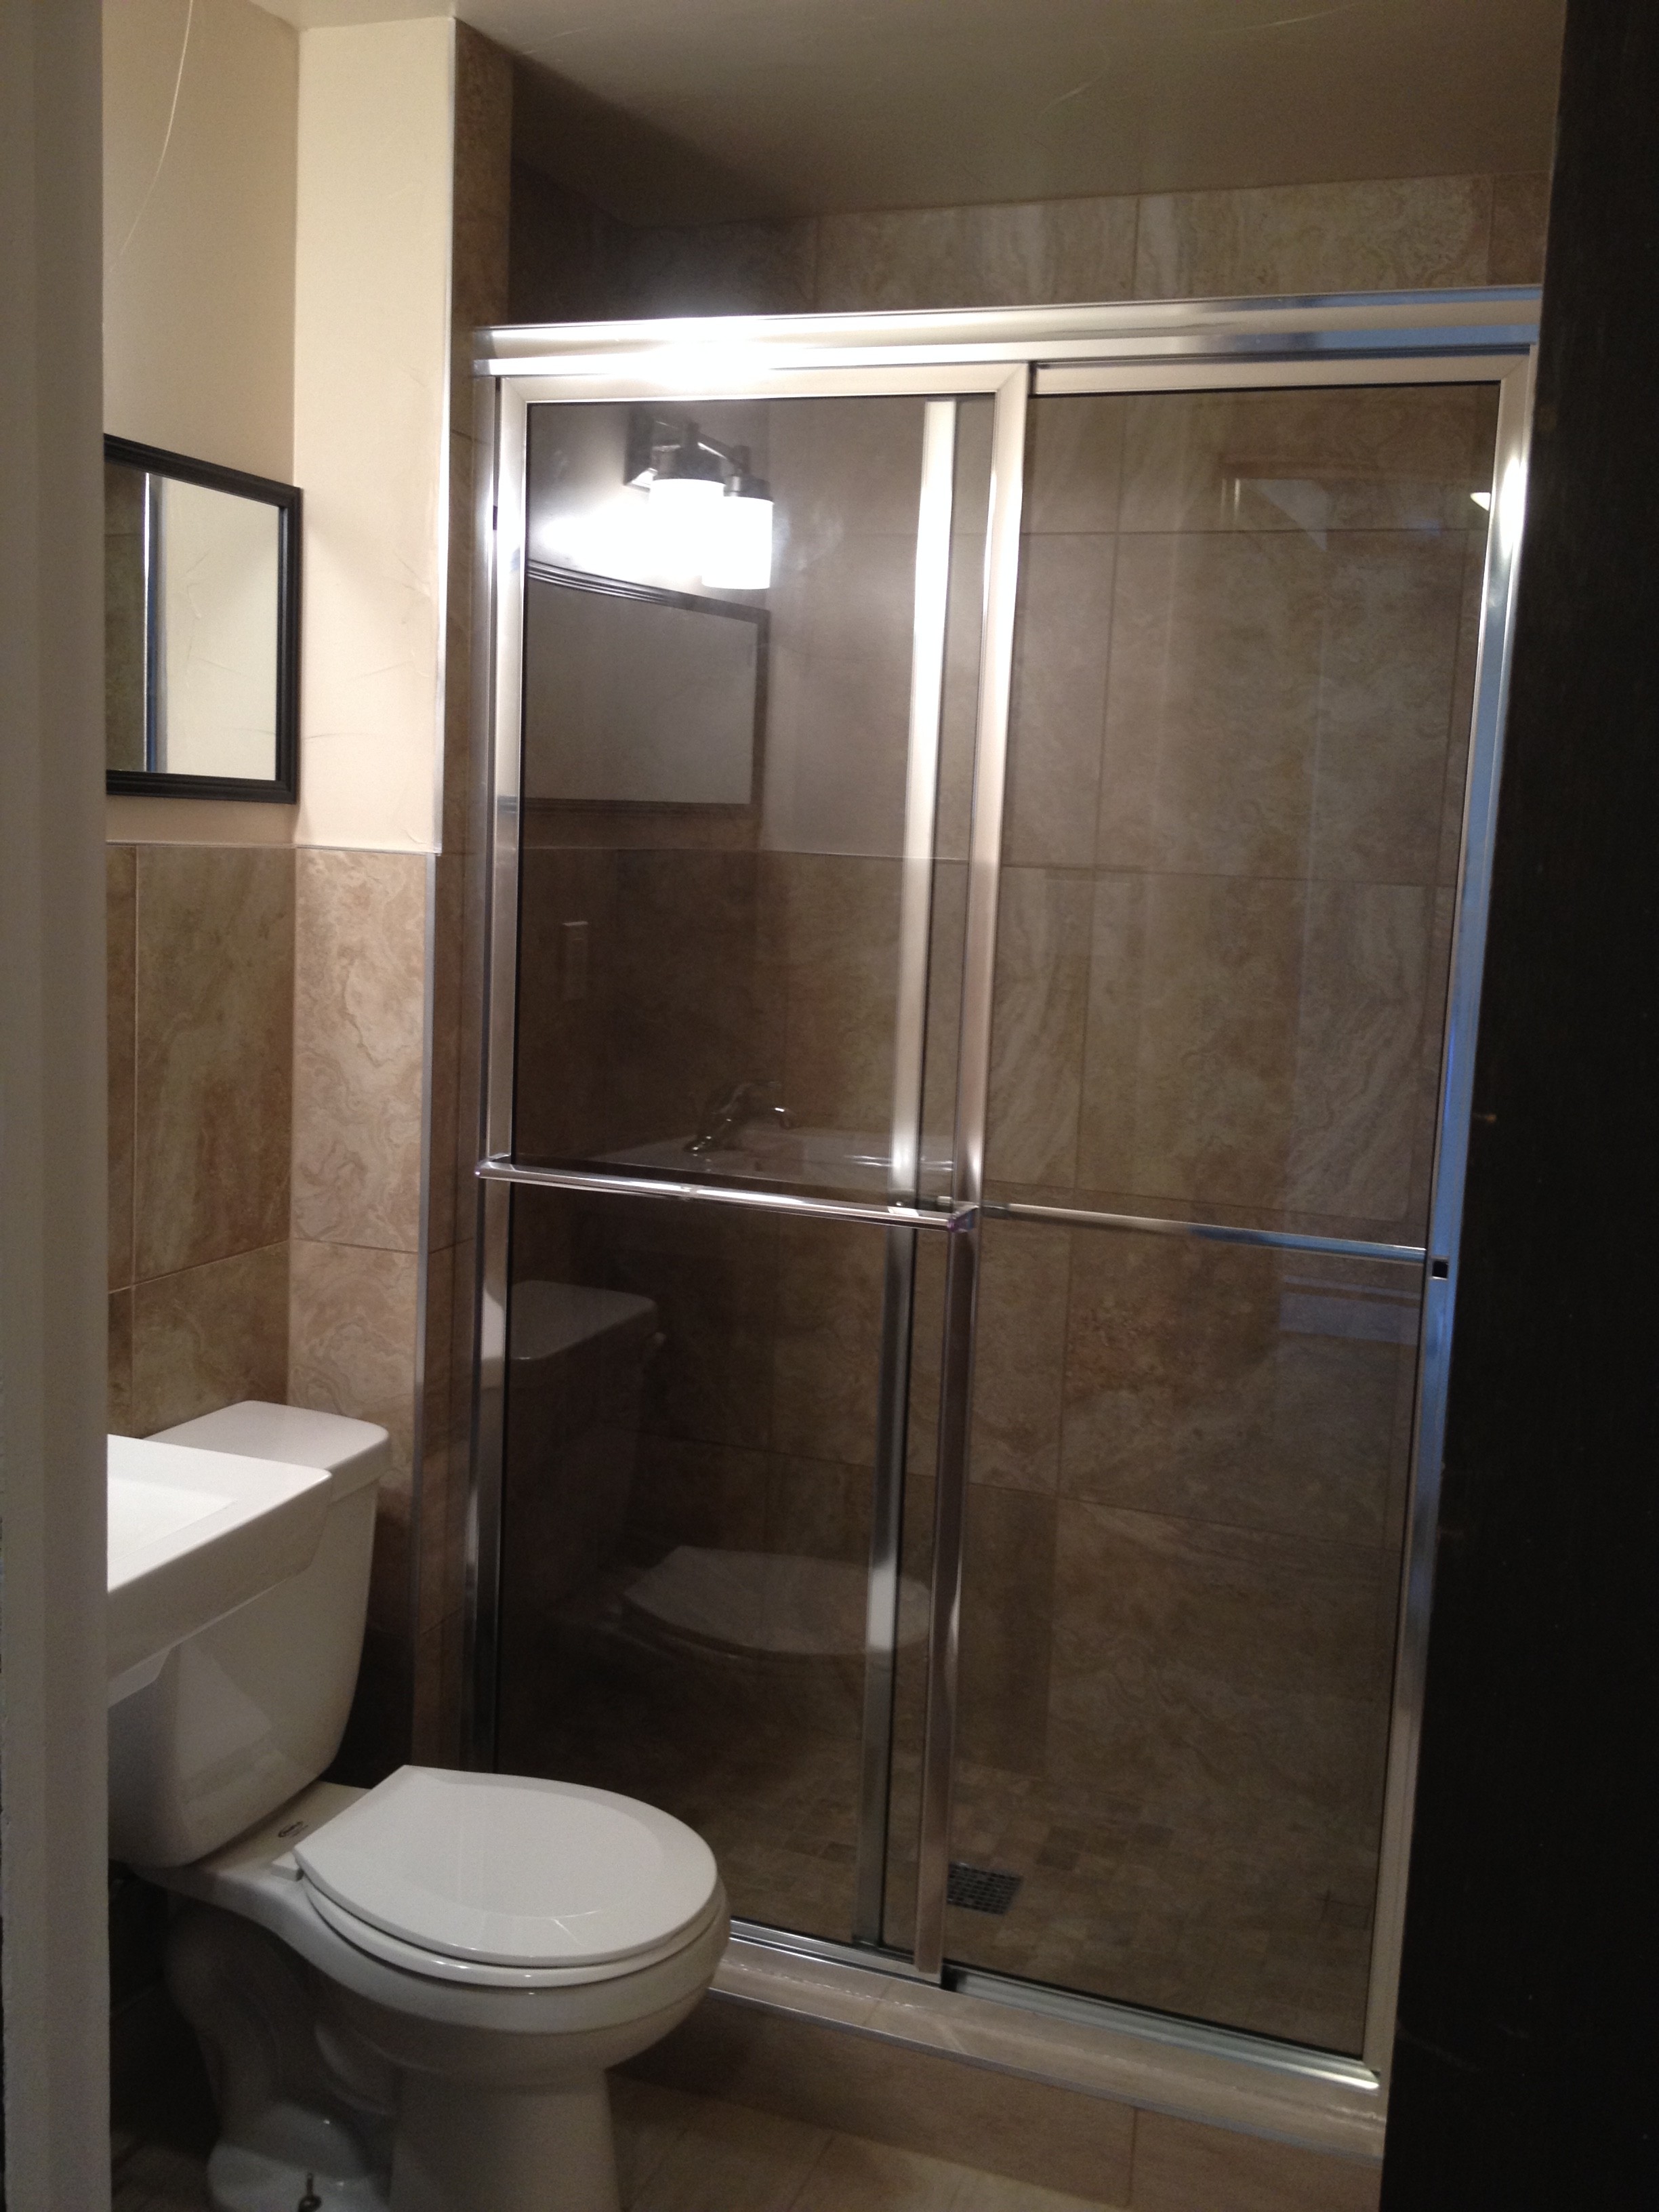
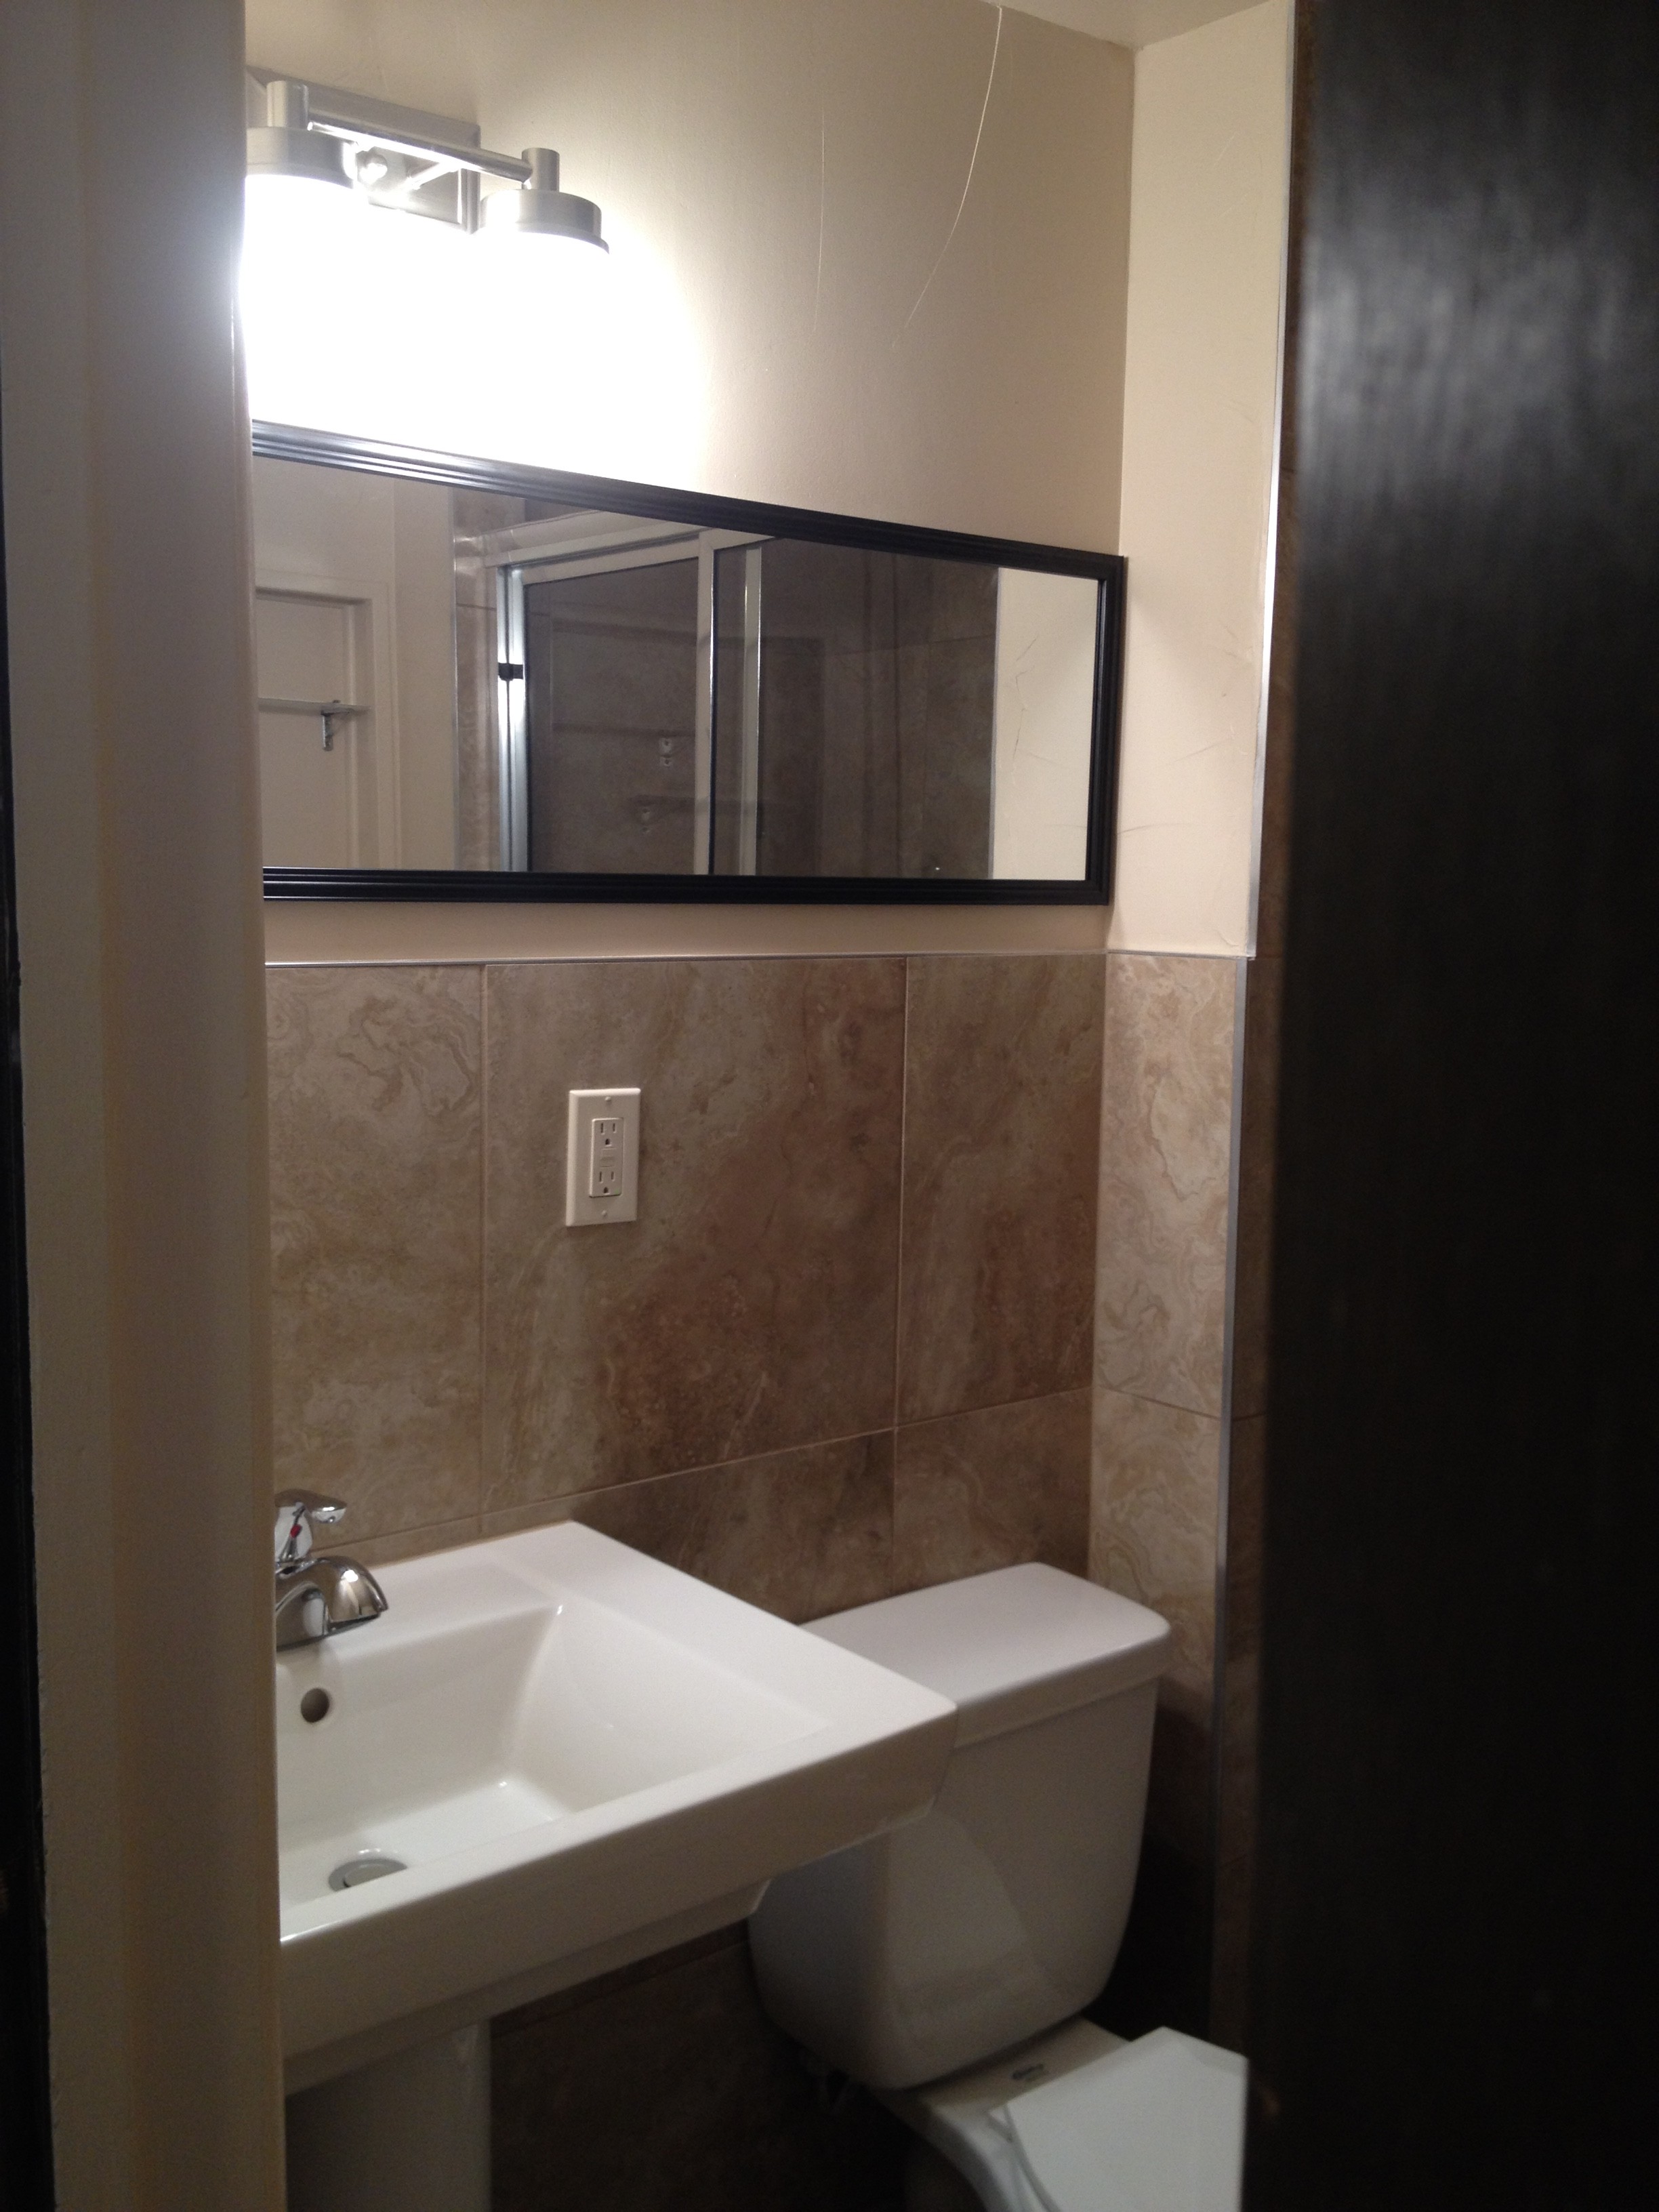
Attraction #3: This bath remodel was anything but straightforward. First, we discovered 4 layers of vinyl flooring under this lovely flooring, which is not uncommon. Some of the patterns were choice! OY! The plumbing fixtures were cobbled together, making the plumber scratch his head more than one time. We did succeed in safely transforming the tub and shower to a shower only compartment, complete with new drain and valve. The plumbing fixtures had been leaking for a sufficient amount of time that we had to completely replace the sub-floor, allowing us to level out the floor and make our tile installation properly fit. Additionally, when we took down the ceiling, we discovered that there were three (yes, three!) layers of drywall, 2×4, drywall. We gained about 6″ on the overall ceiling height, allowing the bathroom to feel more open when we were completed. And the lighting? Well, after the electrician pulled out four wires that were not attached to anything (weird, but not unexpected), we finally got the lighting junctioned correctly to add a new fixture over the sink as well as a fan in the ceiling to move the steam around. This gave us way more light. Finally, our tile was run up the walls for a nice wainscot effect, the remaining cabinet was painted, new fixtures installed, and a long mirror was hung along the wall to give more reflection to the rest of the room. Everyone who worked on the project was amazed at the transformation and just how a little design help went a long way in improving the finished details. We were stoked to see the results.

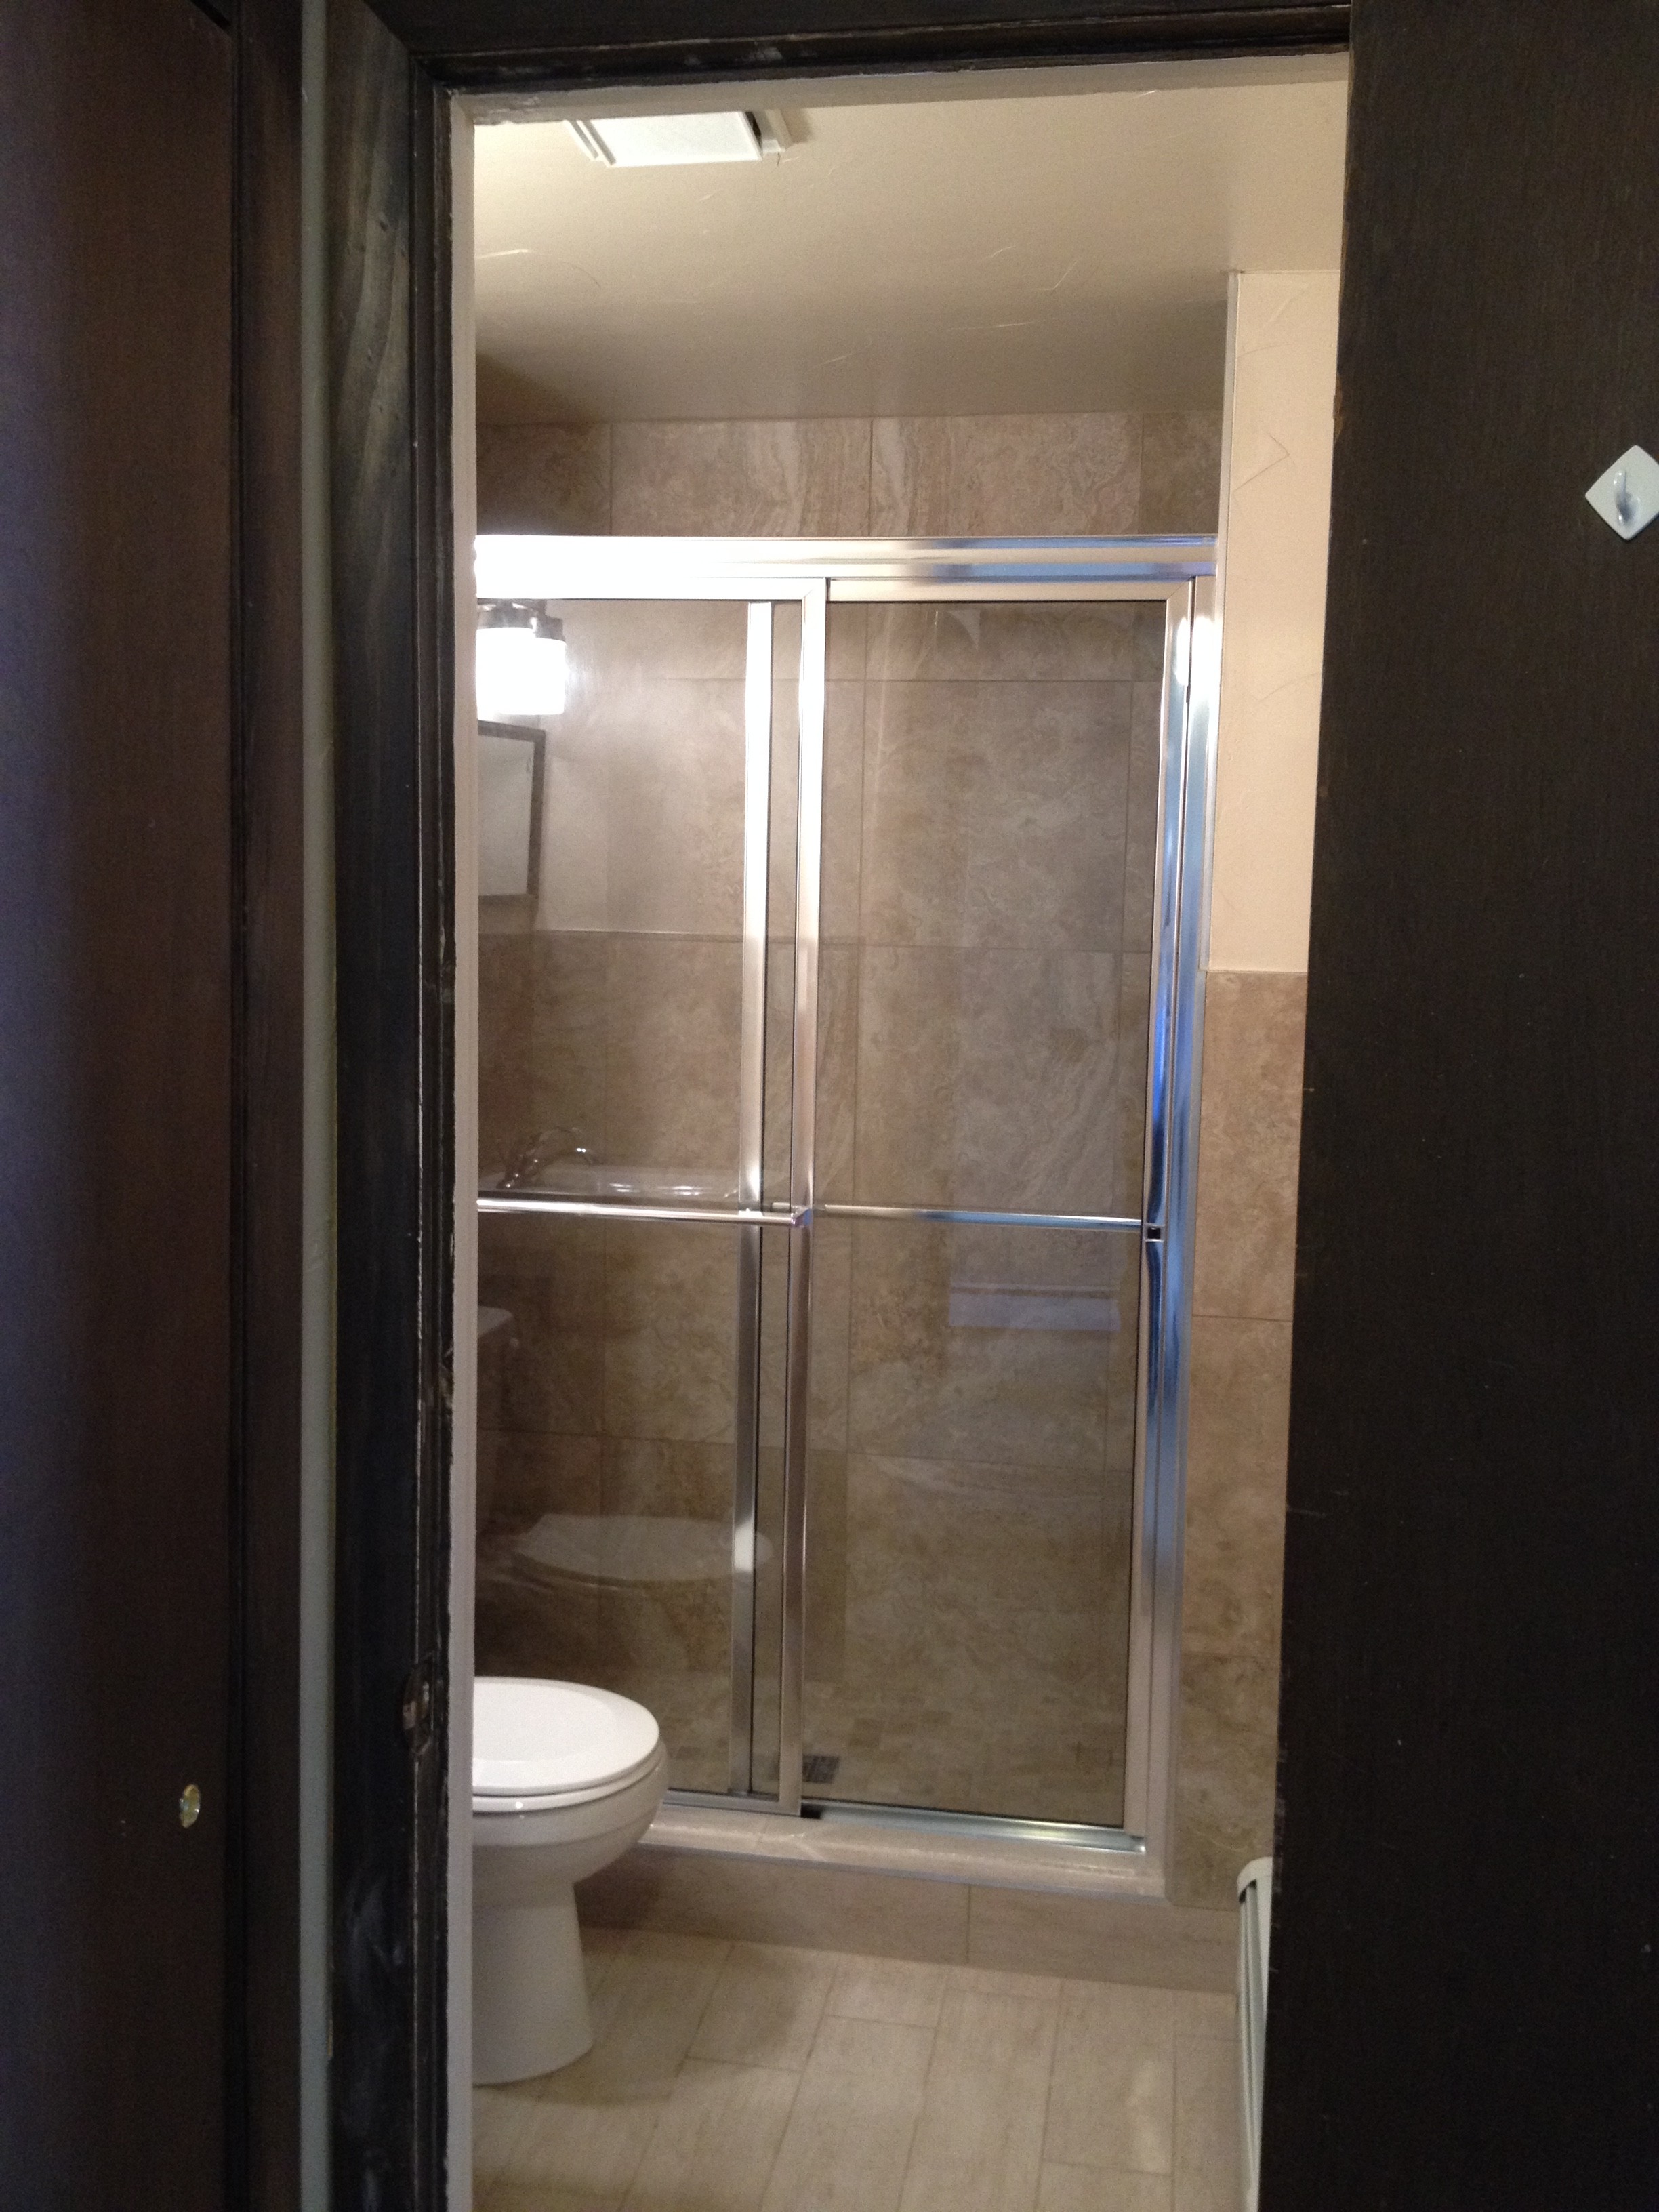
AFTER:
Recent Comments